
The Asset Editor is the heart of configuring your digital twins in Twinnoverse. It’s where you take a raw 3D model and bring it to life by attaching real-time data widgets. This guide will walk you through the entire process.
Prerequisite: You have already uploaded a 3D model. If not, please refer to the Guide: Uploading and Preparing 3D Models.
Understanding the Interface #
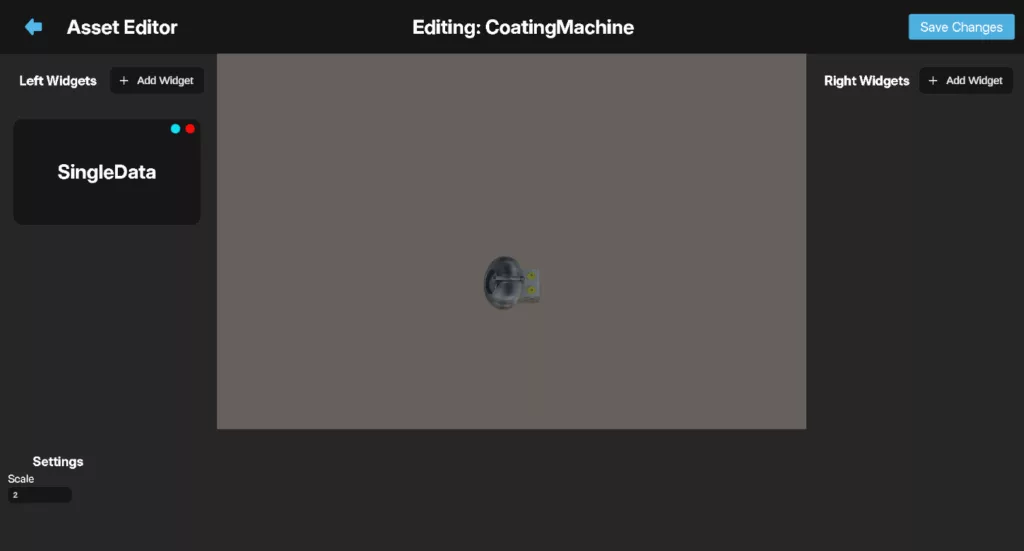
When you open the Asset Editor, you are presented with several key areas:
- Asset View: The large central area where your 3D model is displayed. You can rotate, pan, and zoom to inspect your asset from all angles.
- Top Bar: Displayed at the top of the screen, the name of the asset confirming which asset you are currently editing, a back button to return to the main dashboard, and a save button to save your changes on an asset.
- Asset Settings: A small panel, At the bottom, where you can adjust global properties of the asset itself.
- Scale: Controls the overall size of the model in the scene.
- Widget Panels (Left & Right): Two vertical panels on either side of the Asset View. This is where your data widgets will live. Each panel has an “+ Add Widget” button to start the process of adding a new data visualization.
Core Tasks in the Asset Editor #
Adjusting Asset Scale #
You can change the size of your asset to ensure it fits correctly within a scene later on.
- Locate the Scale input field in the Asset Settings panel.
- Enter a new numerical value. For example, entering
1.5will make the asset 50% larger, while0.5will make it 50% smaller. The change is applied to the model in real-time as you type. - Once you are happy with the new scale, click the “Save Settings” button. This is a crucial step to ensure the scale is saved for when you use this asset in a scene.
Adding a New Widget #
Widgets are the visual elements that display your data.
- Decide which side of your asset you want the widget to appear on and click the “+ Add Widget” button on either the Left or Right panel.
- The Widget Library will appear, showing all the available types of widgets you can add (e.g., “Single Value Display”, “Bar Chart”).
- Click on the widget type you wish to add.
- The library will close, and the Widget Settings Panel will open, To configure your new widget.
Configuring a Widget #
This panel allows you to link the widget to your data. The basic steps are:
- Connect to Data: At the top of the panel, use the Datasource dropdown to select your data stream and enter the specific Data Key (from your JSON payload) that the widget should monitor.
- Set Widget-Specific Options: Each widget has its own unique settings, such as a title or color options. Fill these out as needed.
- Save: Click the “Save” button to confirm your changes.
For a complete walkthrough of how widgets work and detailed explanations of each widget type’s specific settings, please refer to the documentation in The Widget System.
Managing Existing Widgets #
Once a widget is created, it appears as a card in the left or right panel. Each card has two buttons:
Configure (Gear Icon): Click this to re-open the Widget Settings Panel for that specific widget, allowing you to change its datasource, data key, or any other setting.
Delete (Trash Can Icon): Click this to remove the widget. A confirmation dialog will appear to prevent accidental deletion. Click “Confirm” to permanently delete the widget from the asset.
By following these steps, you can add and configure multiple widgets on any asset, turning your static 3D models into dynamic, data-rich digital twins.


